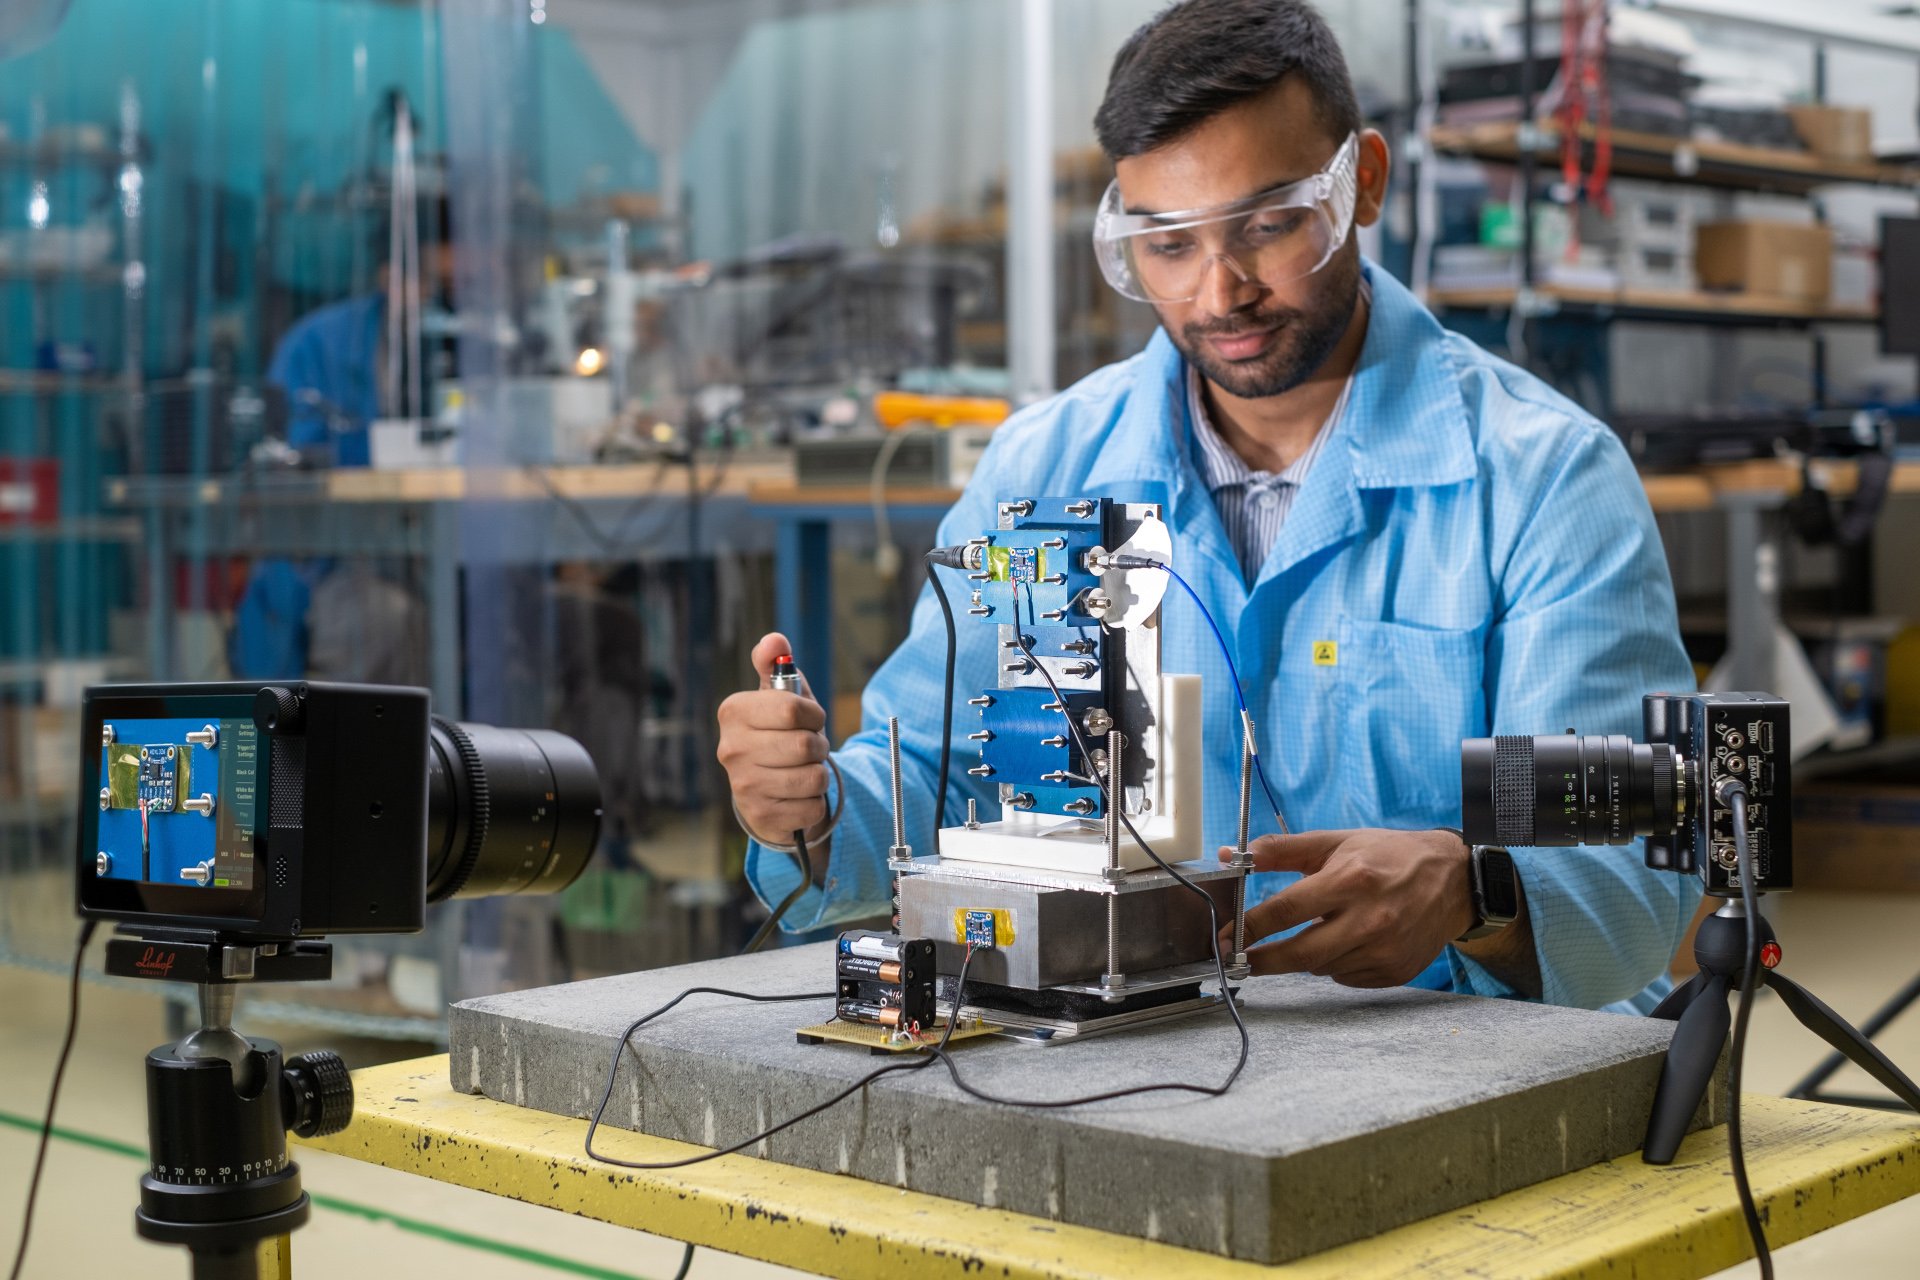

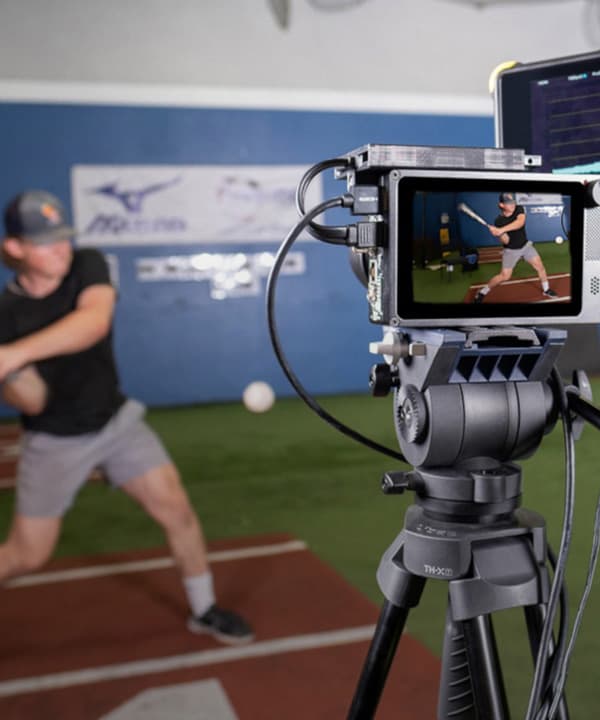
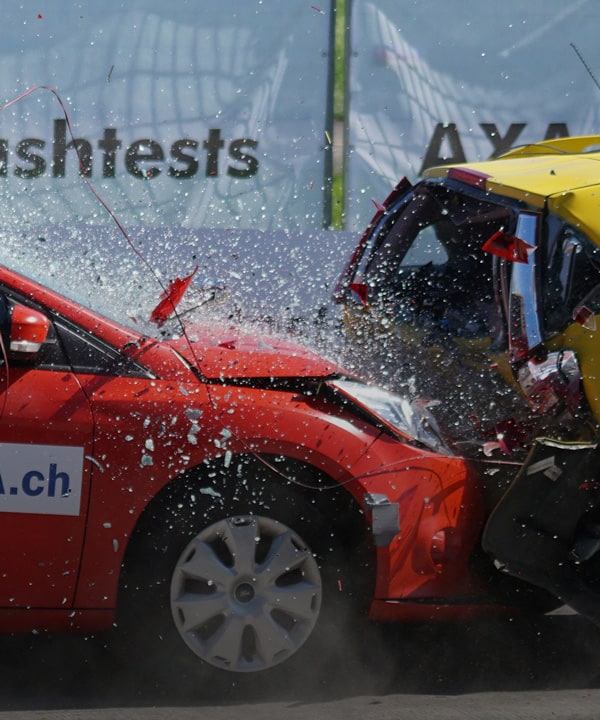


Industries
Chronos high-speed cameras suit a range of Industries from Academia to Media Production and everything in-between.

Which Chronos is Right For You?
Newsletter
Sign up to receive the latest news, announcements, and promotions!
Find software resources, updates, and configuration information here.
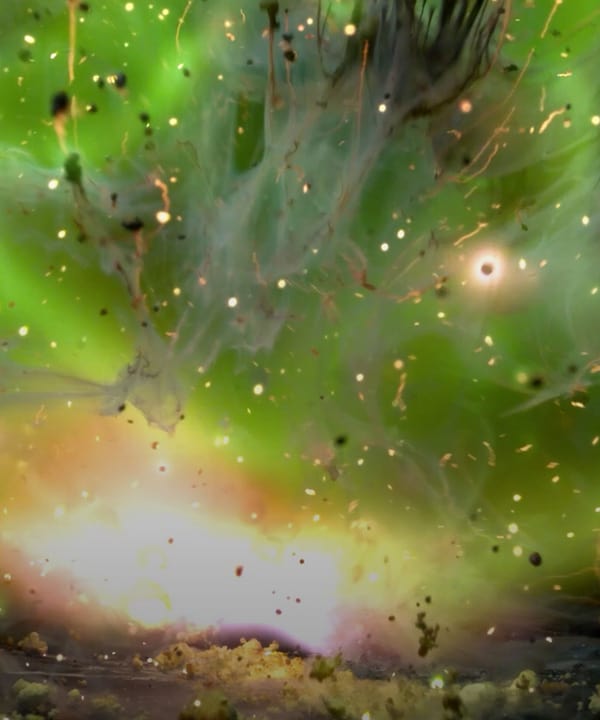
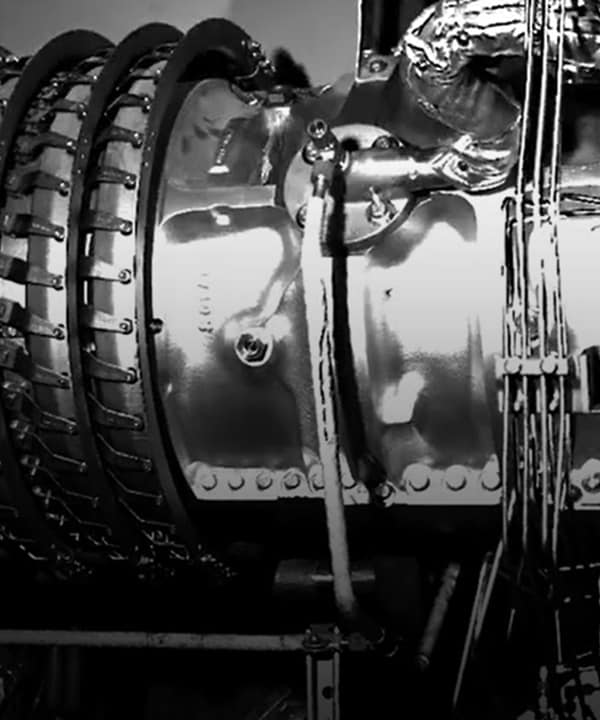
High-speed video captured with the Chronos Camera from our customers around the world.
Our high-speed cameras and accessories can be ordered online today!
Learn how users achieve their project goals with Chronos cameras.
Need a custom quote or technical support?
Testimonials
“The addition of the Chronos camera has made an immediate impact. With the combination of ultra high speed frame rates and compact size, we have been able to go places and capture moments unattainable before.”
John DeTemple
Dincaboutit Media“Chronos cameras are an exceptional value for my research that focuses on investigating ice formation in cloud droplets”
Paul Bieber
PHD Candidate, University of British Columbia"Chronos 2.1HD is an excellent camera to film wildlife in natural light. With this I am able to document difficult to see fast wildlife actions and also produce artistic videos."
Rajesh Mohan
Data Integration & Services at Harvard UniversityInstagram Feed


